
TL;DR:
- Personalising surfwear creates unique, performance-ready designs that reflect individual or family style.
- Using stretch-specific tools and techniques ensures durability and comfort in water activities.
- Customisation fosters a sense of belonging and develops DIY skills through creative, shared projects.
Finding surfwear that truly reflects who you are is harder than it sounds. Off-the-rack options are fine for function, but they rarely capture your personality, your family's vibe, or the spirit of your crew at the beach. Personalising your own surf outfit bridges that gap, giving you something that performs in the water and turns heads on the sand. This guide walks you through the tools you need, the steps to follow, the best design choices, and how to dodge the most common mistakes along the way.
Key Takeaways
| Point | Details |
|---|---|
| Right materials matter | Use stretch-friendly threads, stabilisers, and paints to keep surfwear flexible and comfortable. |
| Plan your design | Sketch and position your decorations before starting to ensure a balanced, lasting result. |
| Small details last | Choose small, bold motifs for easy care and best wear in sun and saltwater. |
| Safe placement crucial | Keep embellishments away from high-stretch or friction areas to avoid discomfort or tears. |
| DIY builds connection | Customising surfwear is a fun way for families and individuals to bond and show off their style. |
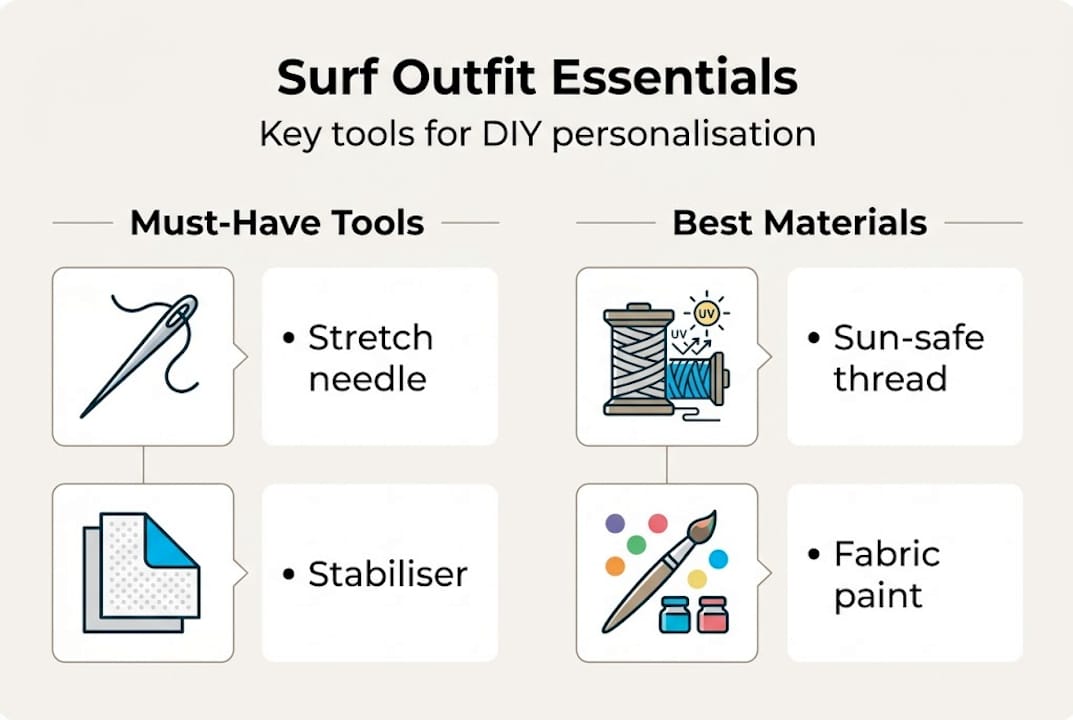
What you need to personalise your surf outfit
Let's start by getting your gear and workspace ready. Personalising stretchy surf fabrics is a different beast from decorating a cotton tee. Spandex and nylon blends, the kind used in rash guards and swim trunks, need specific tools to handle their give and movement. Using the wrong supplies leads to cracked paint, sagging embroidery, or decorations that scratch your skin mid-session.
Here's what you'll need to get started:
- Quality rash guard or swim trunks as your base (check out base rash guards for great starting options)
- Stretch needles designed for knit and synthetic fabrics
- Embroidery thread rated for moisture and UV exposure
- Stabiliser to back the fabric during embroidery
- Fabric paints formulated for stretch materials
- Waterproof markers for fine detail work
- Holographic or waterproof stickers for quick, bold accents
- Chalk or washable fabric marker for sketching your design first
The reason synthetic fabrics need specialist tools comes down to stretch. Standard needles skip or break threads on spandex. Standard paints crack when the fabric flexes. As noted in a guide on embroidering rash guards, using stretch needles and stabilisers on spandex, and stretching the fabric before hooping, keeps the finished piece functional and comfortable.
Keep an eye on current surfwear trends to get inspiration for colours and motifs before you buy your supplies.
| Tool | Purpose | Essential? |
|---|---|---|
| Stretch needle | Prevents skipped stitches on spandex | Yes |
| Stabiliser | Backs fabric during embroidery | Yes |
| Fabric paint (stretch) | Covers large areas with colour | Yes |
| Waterproof stickers | Quick, no-sew decoration | Optional |
| Chalk marker | Sketching design outlines | Recommended |
Pro Tip: Always choose embroidery thread, paints, and stickers rated for sun and salt exposure. Cheap materials fade or peel after just a few swims.
Step-by-step guide to personalising surf outfits
Now that you have everything, let's dive into the process itself.
- Wash and air dry your surfwear. Fresh-from-the-shop fabric often has a coating that resists paint and adhesive. A single wash removes this and gives you a clean surface to work with.
- Sketch your design. Use chalk or a washable fabric marker to outline your design directly on the garment. Keep lines simple and bold, especially for kids' pieces.
- Hoop and stabilise. For embroidery, attach your stabiliser to the back of the fabric. Stretch the fabric before hooping to maintain flexibility and prevent puckering once you're done.
- Embroider or paint. Use your stretch needle for embroidery work. For larger areas, apply stretch-rated fabric paint in thin, even layers and let each layer dry fully before adding the next.
- Apply stickers or patches. Press-on surf stickers work brilliantly for quick, eye-catching detail without any sewing.
- Heat set and cure. Follow the paint manufacturer's instructions for heat setting. This locks in colour and extends wear life significantly.
- Test the stretch. Gently pull the finished area in all directions. If anything cracks, lifts, or feels stiff, address it before wearing in the water.
For family surfwear tips on getting kids involved safely, keep their designs on flat, low-stress zones like the chest or upper back.
Safety note: Always check that decorations don't interfere with the garment's stretch or create rough edges that could chafe skin during paddling or swimming.
Pro Tip: Small, bold designs last longer than large, intricate ones. They're also far easier to maintain after repeated saltwater exposure.
Tips for choosing the right designs and techniques
With the basics down, how do you choose designs that really work for you?
The most popular themes for surf outfit personalisation include waves, sea creatures, tropical florals, family initials, and bright geometric shapes. These work well because they're bold enough to read at a glance and flexible enough to suit all ages. For surf style for youth, bright colours and playful characters tend to win out, while adults often prefer clean initials or abstract ocean patterns.
Balancing colour and wearability matters more than most people realise. A design that looks stunning on the table can overwhelm a garment in practice. Stick to two or three core colours and let the fabric's base colour do some of the work.
Here's how the three main techniques compare:
| Technique | Durability | Best for | Skill level |
|---|---|---|---|
| Embroidery | Very high | Initials, small motifs | Intermediate |
| Fabric paint | High (if stretch-rated) | Large areas, bold shapes | Beginner |
| Waterproof stickers | Medium | Quick accents, kids' pieces | Beginner |
Using stabilisers on spandex is the key to making embroidery last on surf fabrics. Without it, stitches loosen and distort with every wear.
Combining techniques gives you the most unique results. Try embroidering a small crab or wave motif, then framing it with a ring of fabric-painted dots. Check out athleisure style ideas for more creative direction on mixing surf aesthetics with everyday wearability.
Troubleshooting and common mistakes
Even seasoned DIYers hit a few snags. Here's how to fix or prevent them.
Common mistakes to watch for:
- Bunching or puckering fabric usually means you skipped the stabiliser or didn't stretch the fabric properly before hooping
- Cracking paint is almost always caused by using standard acrylic paint instead of stretch-rated fabric paint
- Thread breaking or skipping points to a standard needle being used on spandex. Switch to a stretch needle immediately
- Patches causing discomfort happen when thick or stiff patches are placed in high-movement zones like underarms or sides
- Fading designs result from using materials not rated for saltwater and UV exposure
The fix for most of these issues starts before you even pick up a needle. As highlighted in guides on rash guard embroidery, proper use of stretch needles and stabilisers preserves the garment's function and comfort over time. Skipping either step is the single biggest cause of failed DIY surfwear projects.
Understanding the history of surfwear fabric helps you appreciate why these fabrics behave the way they do and why the right tools matter so much.
"Stretch needles and the right prep keep your surfwear comfy and long-lasting."
If paint does crack after washing, sand it lightly with fine-grit sandpaper and apply a fresh thin layer of stretch paint. It's a quick fix that extends the life of your work considerably.
Why personalising surf outfits is more than just decoration
Stepping back, there's a deeper value behind custom surf apparel than just looks. When a family rocks matching personalised rash guards on the beach, it creates a sense of belonging that no off-the-shelf set can replicate. Kids who helped design their own gear wear it with pride and are far more likely to keep it in good condition.
Personalising surfwear also builds real DIY skills. Measuring, planning, and executing a design teaches patience and attention to detail. These are lessons that stick. Exploring family-friendly surfwear as a shared project turns a weekend activity into a memory that lasts well beyond the summer.
Where to find surf outfits ready for personalisation
Ready to get started? Here's where you can source quality basics for your next surfwear project.
Wild Surfwear offers a vibrant range of rash guards, swim trunks, and accessories built from quality stretch fabrics that take personalisation brilliantly. Whether you want a blank canvas to make your own or a bold pre-designed piece to accent with stickers, there's something here for every skill level.
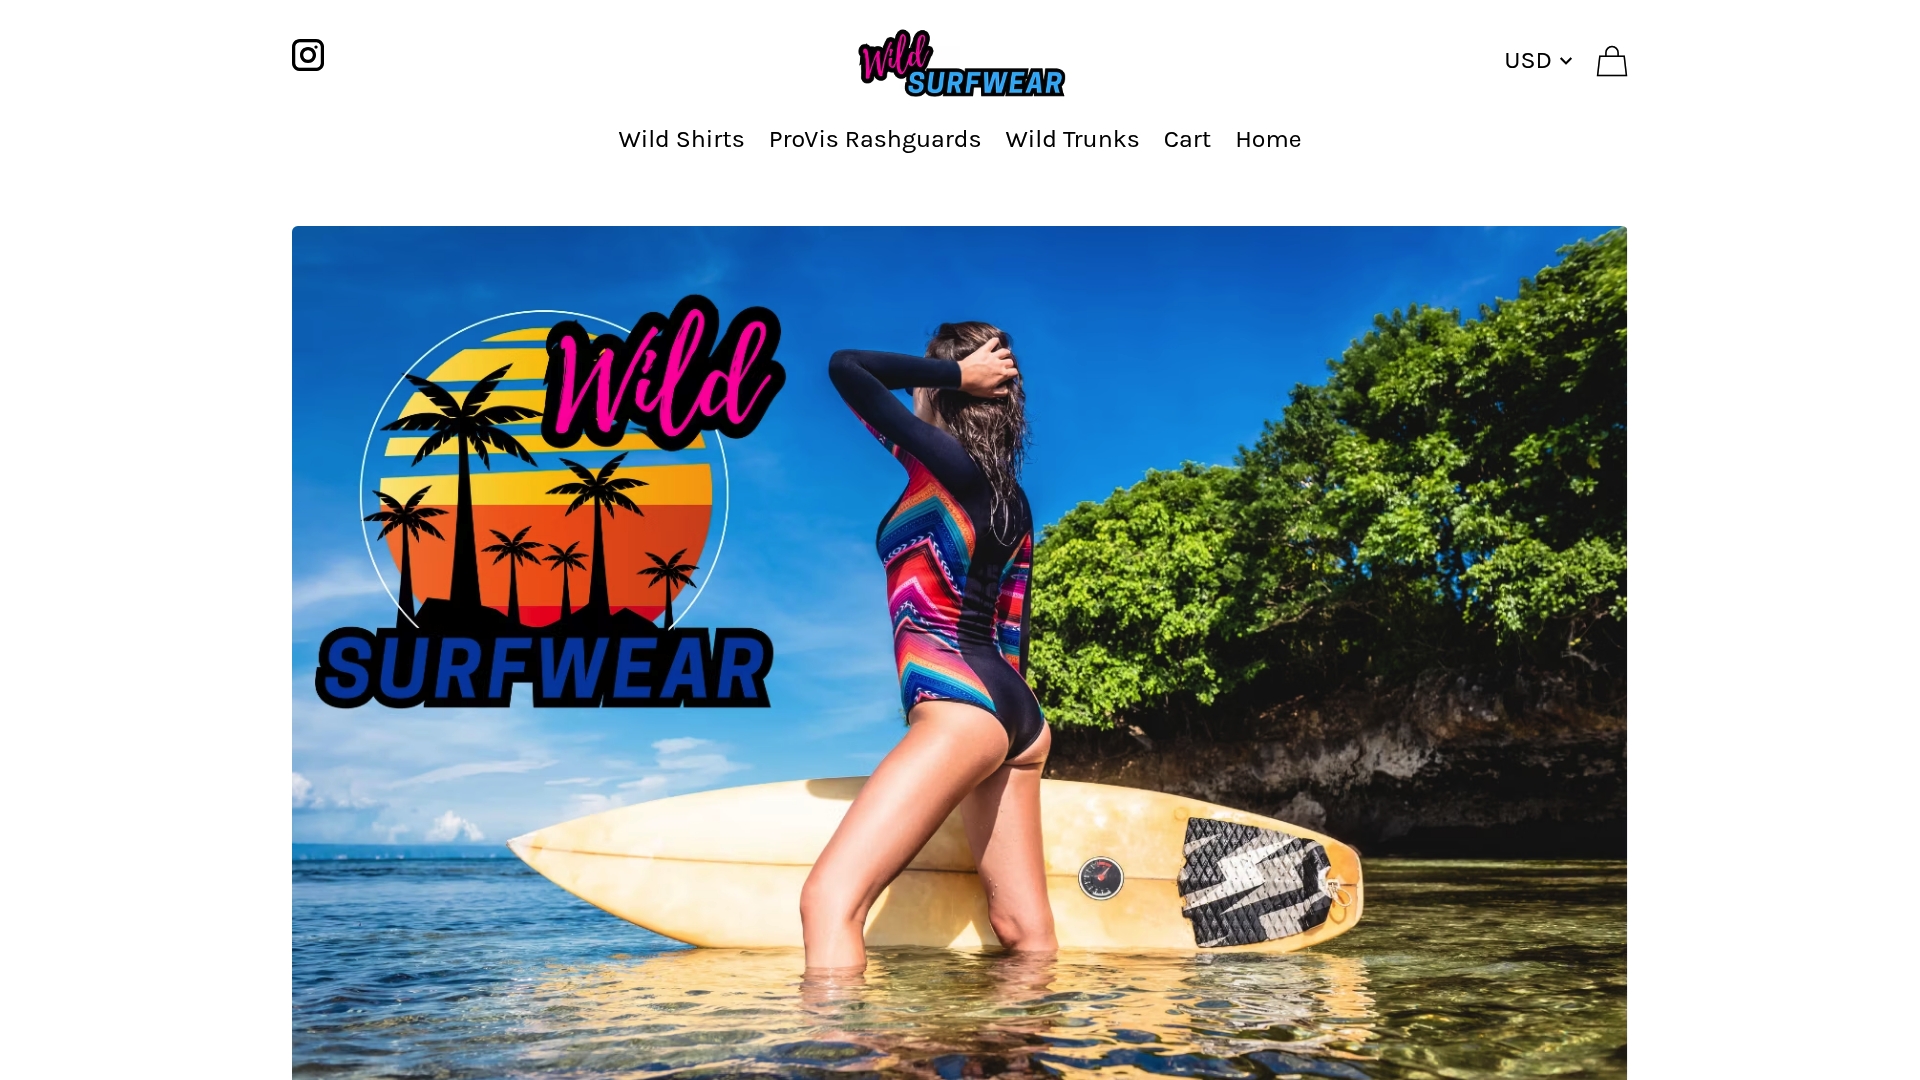
Browse the blank youth rashies range for great base pieces, or grab a set of surfwear stickers to add instant personality without picking up a needle. Mix DIY with shop-bought flair for results that are genuinely one of a kind.
Frequently asked questions
What are the safest materials to use when personalising surf outfits?
Choose embroidery thread, fabric paints, or stickers specifically rated for swimwear fabrics and stretch performance. Using the right materials, including stretch needles and stabilisers, keeps the garment safe and comfortable against skin.
Can you personalise both rash guards and swim trunks?
Yes, both rash guards and swim trunks respond well to embroidery, fabric paint, and waterproof stickers. The key is always using stretch-rated tools suited to synthetic fabrics.
How do you make sure decorations don't interfere with surfwear performance?
Always use stretch-friendly materials, avoid thick patches in high-movement areas, and test the garment's full range of motion after decorating. Stretching the fabric before hooping is essential for embroidery work.
Is it hard to embroider stretchy surfwear fabric at home?
With the right stretch needle, a stabiliser, and careful hooping technique, embroidery on rash guards is very manageable at home. Following proper embroidery prep makes the process straightforward even for beginners.